Creative Ways to Use Surveys in Laserfiche Cloud
- CDI

- Oct 29, 2025
- 3 min read
Updated: Oct 30, 2025
By Kyle Knebel
Consultant Corner – October 2025
This month’s article will show you how to create a Survey in Laserfiche Cloud and provide some useful ideas for the types of surveys you can make.
Let’s build!
Step 1: Log in as a user with Process Automation privileges.
Note: To enable Process Automation privileges, select the User under Account>Users and then select the appropriate username under the “Users” tab.

Step 2: Click on the User account to edit the properties, then scroll down to the “Access Rights” section. Expand the “Process Automation” section and click the radio button to allow the user to be a “Survey Form Developer.”

Press Save.
Step 3: Back on the top-right corner, use the App Picker to navigate to “Process Automation>Overview”.

Step 4: On the “Tools” center column, click on “Surveys.”

Step 5: Here, you can manage and report on all surveys. You can also create new ones.

Step 6: Create a New Survey using design tools like you might be familiar with from building Business Processes give the new survey a name.

Step 7: You’ll then be in the “Design” window, where you can add all the fields needed to collect responses. The form can contain many types of fields, selectable from the Toolbox pane on the left side.

Drag and drop field types onto the white “canvas” in the middle of the screen. You should give each field a name and other properties.
One of the best field types for surveys are multiple choice fields like Checkbox, Radio Button or Drop-down. These make it easy for the survey respondents to make a quick and easy choice for certain specific questions.
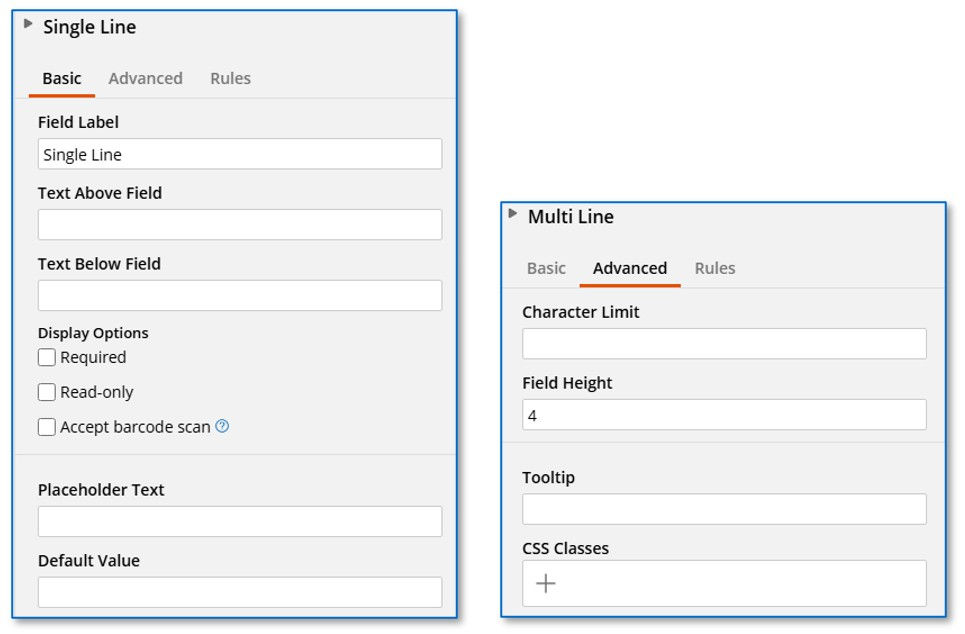
For open-ended questions use a “Multi Line” field and set the “Field Height” to the number of lines of text needed.

Fields can have “Rules” like when to Show, Hide, Enable, Disable, Validate or set CSS Classes on other fields or on the Form itself.

Fields can also be set to “Lookup” values from data sources, like Lookup tables that you have created in your Cloud system, or it can connect to “on-premise” SQL data.

Step 8: Publish and Preview your Survey to see how it looks. Additional theming can be added to your form.

Theming and HTML Styling (via CSS) can always be used to create a corporate or organizational look to your surveys.


Step 9: After applying the theming and CSS to your survey, Publish and Preview it one more time.
Tip: What kind of surveys do you have in mind? Some ideas include the proverbial “Suggestion Box” with open-ended questions. Or it could be a department specific questionnaire like New Employee Onboarding, Project completion feedback for end-users or for internal project teams, or New Client information asked of a potential client that might feed internal company processes. Another idea is to use a survey as a Registration form for an event.
Step 10: Make it Public or Private.
Public surveys are submitted anonymously, whereas Private surveys track who submitted the form. Private surveys are for your own organization’s Cloud users only.
In the Manage tab you’ll see a list of surveys available. Check the selection checkbox for the survey you want to enable. On the “Details” pane on the right side, toggle the Status to “Enabled”, then choose the privacy setting desired. Use the “Share” link to email the URL link or to copy it.

Step 11: Now that you have your submitted surveys, it’s now time to runs some Reports.
Choose a Survey from the list, then set the Date range. Then press “Apply” to see the resulting Report.
Note: Sometimes survey questions are not answered, and you can tell the reporting tool to skip those empty values when drawing charts and tables. Just check the “Exclude skipped values” box, if this is the case.

Then you can view the Results graphically or download the report as a PDF.


Laserfiche Cloud Surveys are an easy way to collect information like registration sign-ups without having to build out a full business process. Try one today!


Comments