Consultant's Corner: Making a Forms Dashboard for Your Document and Forms Hyperlinks
- Kyle Knebel
- Jun 15, 2020
- 3 min read
Updated: Jul 31, 2020

This month's Consultant’s Corner article, by CDI’s Software Trainer, Kyle Knebel, takes us through the process of creating an organizational document/forms dashboard.
Having a document and/or forms dashboard gives your end-users a quick and easy way to find and access your organizational documents, applications, or forms, in a single and convenient location.
At our organization, CDI, a dashboard was created to fill the need for a single location to store a growing list of form links, in addition to other resources. The dashboard quickly fulfilled the need to provide the links our teams needed to complete their jobs more efficiently.
Let's get started.
To begin, CDI recommends three key considerations when planning and maintaining a Forms dashboard:
1. Dashboard Maintenance – The dashboard is made up of mostly HTML, so it requires updating semi-frequently, so ensuring time for maintenance is an integral part of planning.
2. Ease of Use – Ensuring dashboard ease of use for the end-users. Consider what would be their ideal view as a homepage is essential when organizing the page.
3. On-boarding – For someone new to the organization, the dashboard can be a fantastic resource. It can be overwhelming keeping track of sites and URLs for a new employee.
Using a dashboard provides an excellent way to organize and consolidate links to applications and webpages based on processes used by departments, people, or even categories.
A Forms dashboard does not have any monitoring or reporting, since it is not an actual form, but simply a way of providing links to other Forms, other applications, or other websites.
Make sure to have someone skilled in the use of HTML for website design available to maintain this dashboard.
Building the Dashboard
1. Create a new Business Process in the Laserfiche Forms system.
a. Open Forms at the URL: http://{servername}/forms, where {servername} equals your Laserfiche Forms server.
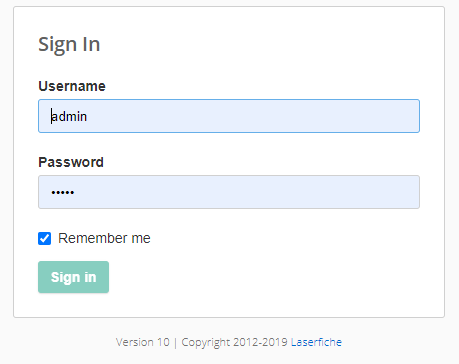
b. Login with a user account with Business Process Admin rights so that you can create a new business process which contains the single dashboard form.

c. Once logged in, navigate to the Manage tab in Laserfiche Forms

d. Press the New Process green button and choose Blank Process.


e. Name the new Process Dashboard (or anything you feel is appropriate).

2. Creating the new dashboard Form
As soon as you press Create to create the new process, the Designer page appears.
a. On the left side, click on Create New Form.

b. Name the Form and click Create.

c. Click on the Form Title bar and then click Edit. Give the form a title, or you can choose not to show a title at all by unchecking the Show form title checkbox.

d. Next, add a Custom HTML field, either by double-clicking or dragging the field to the canvas.

Pro Tip: A quick and easy way to create a set of links is to use Microsoft (MS) Word. You can build a list of hyperlinks in your Word document first and then copy/paste from MS Word into the Form’s field.
e. In MS Word, create your hyperlinks:
i. Type in the link(s) as you want it to appear on screen.
ii. Highlight the text, then right-click and choose Link>Insert Link…

f. Edit the link and enter the actual URL Address at the bottom of the Hyperlink properties box.

g. Have fun and add more URL’s as hyperlinks within a table if you are feeling adventurous!
h. Copy the entire list or table in your MS Word document.

i. Paste the copied links into the Custom HTML edit box’s Visual tab. Note: Make sure to replace or remove any pre-existing text from the box.

You will end up seeing something like this:

j. If you have multiple departments, you could use Forms Page Break field configured as tabs to have specialized links for your staff. Here’s an example of what we use here at CDI.

k. Make sure to disable the Submit button using CSS. No one will be submitting anything on a dashboard form like this, so we want to hide it. Click into the CSS and JavaScript tab on the Form Designer and add the text in the CSS box, as shown below.

Here’s the code: .Submit {display:none;}
Thank you again, Kyle! As organizations continue to convert more of their paper-based forms to online digital forms, the need to have a manageable, accessible, and central location for these links increases. The instructions and guidance included above is definitely a great start to helping more organizations become more productive and efficient in their daily processes.
If you have any questions or wish to speak with a CDI professional team member, contact us at support@cdi.support.


Comments